LED Work Light for Off-Road SUV: Brighten Up Your Adventure
Share
A simple introduction will allow you to more intuitively understand how to install it on the vehicle
Table of Contents
Introduction
Upgrade your vehicle’s lighting capabilities with LED work lights. Whether you’re navigating dark roads or challenging terrains, installing LED work lights can significantly improve visibility and safety. This comprehensive step-by-step installation guide will help you seamlessly add LED work lights to your vehicle, ensuring optimal illumination and a hassle-free setup.

Step 1: Select the Installation Position
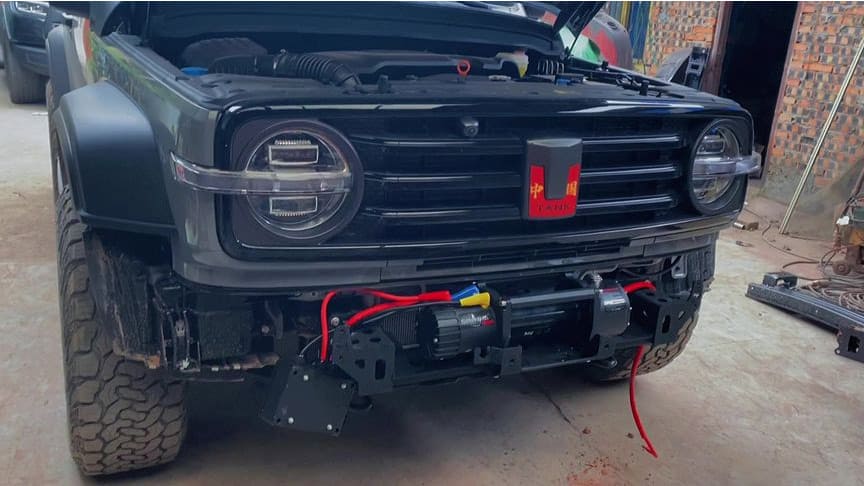
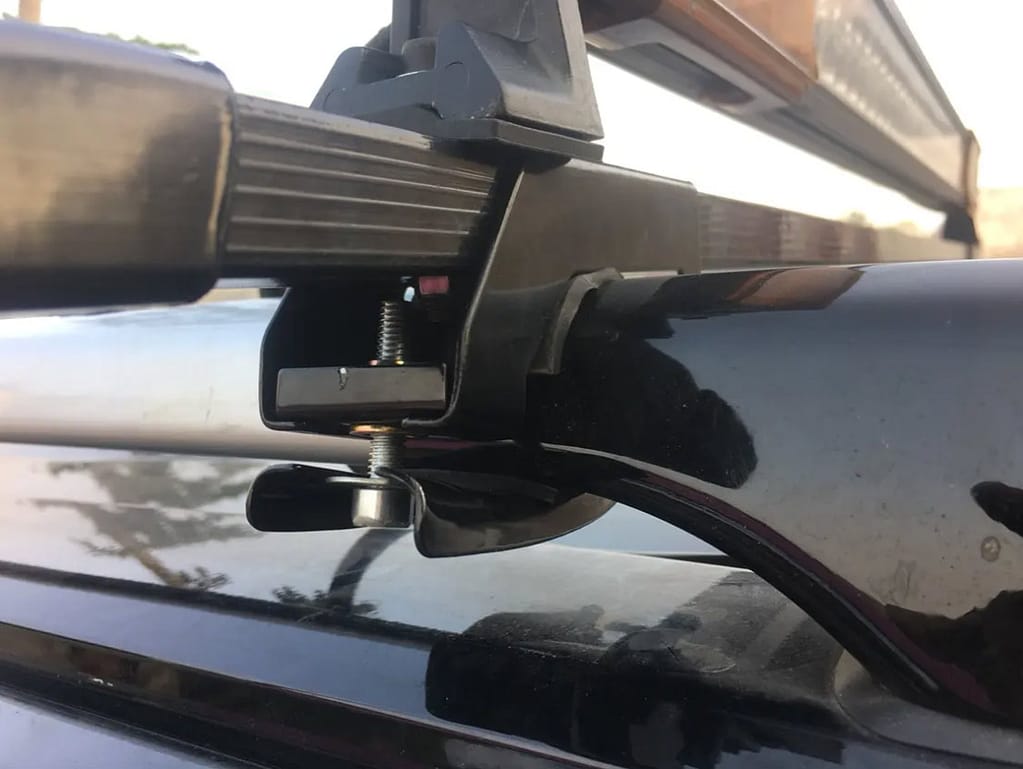
Carefully choose the ideal location on your vehicle to install the LED work lights. Consider the purpose and desired lighting coverage. Popular options include the roof, front bumper, or roof rack. Ensure the chosen spot doesn’t obstruct your view while driving and complies with local regulations.
Step 2: Gather the Required Tools and Materials
Before getting started, gather all the necessary tools and materials. You’ll need LED work lights, a screwdriver, appropriate screws, electrical wires, insulation tape, wire connectors, and wire strippers.
Step 3: Connect to the Power Source
Identify a suitable power source for your LED work lights. Connect the positive (+) and negative (-) wires of the lights to the corresponding terminals on your vehicle’s electrical system. Use wire connectors and ensure proper insulation for a secure connection.
Step 4: Securely Mount the Light Fixtures
Using the provided mounting brackets or hardware, securely attach the LED work lights to the chosen position on your vehicle. Double-check that the lights are properly aligned and firmly fastened to withstand vibrations and off-road conditions.
Step 5: Route and Manage the Wiring
Carefully route the wiring from the lights to the power source, ensuring it is concealed and protected from potential damage. Use wire clips or adhesive tape to secure the wiring along the vehicle’s frame, keeping it away from moving parts or excessive heat sources.
Step 6: Test and Adjust
Before finalizing the installation, turn on your vehicle’s power and test the LED work lights. Verify that all lights are functioning correctly and adjust the angle or direction as needed to achieve the desired lighting coverage and visibility.
Step 7: Complete the Installation
Once you confirm the proper functioning of the LED work lights, secure any loose wiring or connections using insulation tape. Conduct a final inspection to ensure all components are securely installed and there are no exposed wires.

Conclusion
By following this detailed step-by-step installation guide, you can confidently add LED work lights to your vehicle, enhancing its illumination and overall safety. Remember to prioritize safety throughout the installation process and consult a professional if you encounter any challenges.
We hope this optimized article provides your customers with clear instructions on how to install LED work lights on their vehicles. If you have any further questions or need additional assistance, please don’t hesitate to let us know.
Have Anything To Ask Us?
Please fill in your email in the form and we'll get back to assist you soon!
